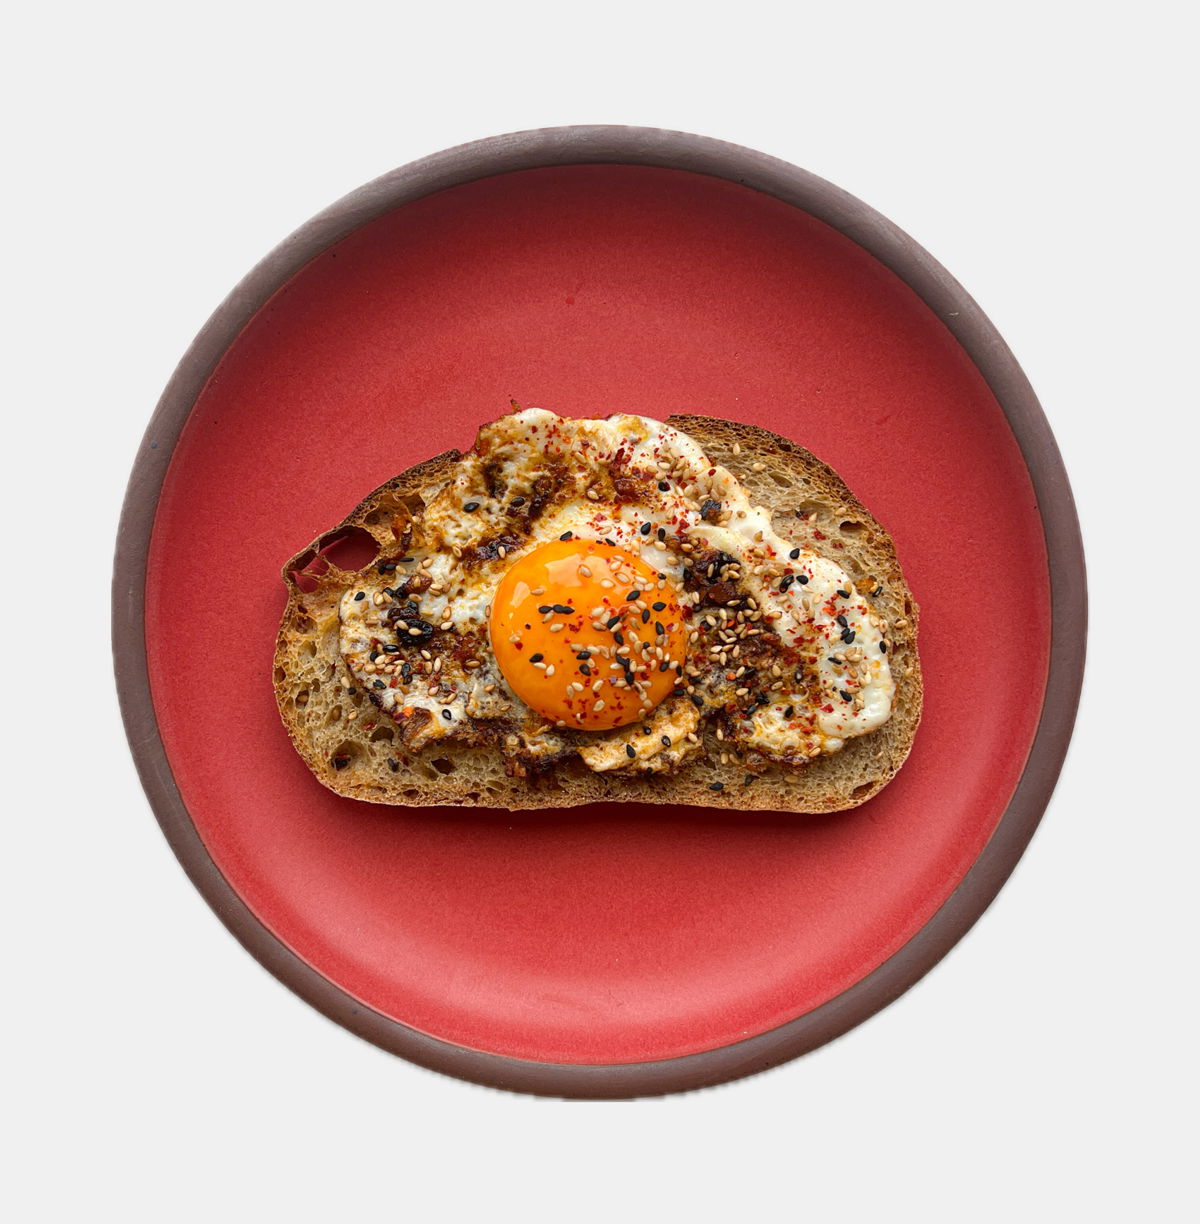
high protein sourdough bread
18 grams per slice, you can toast your way to shredded in the blink of an eye

jer 旨い•
Feb 23, 2024
before i get babbling on how this loaf of bread came about, i want to first mention that this can be made both with sourdough starter and with instant yeast. i have tested both and both recipes work, and i’ve included the requisite steps for both methods. protein bread for everybody!! yay
okay, so, after finding success in making high protein bagels (link recipe), i essentially opened pandora’s box. i wanted to try applying a similar technique to baking a traditional sourdough style country loaf with an added protein boost, and after some trial and error, i can say the final recipe is indistinguishable from what you’d pick up from your favorite bakery. and i hold the same sentiment as with the protein bagels – this recipe is not designed to be “diet” or “low carb” motivated – it’s still, indeed, bread. just pretend we’re ordering something at jamba juice and you throw in a protein boost for an extra $1.99! same idea.
Ingredients (9)
Ingredients (9)
starter
if you don't have access to sourdough starter use:
- All-purpose flour (50 g)
- Water (50 g)
- Instant yeast (1 g)
autolyse
Or, if you are using instant yeast:
- All-purpose flour (200 g)
- Vital wheat gluten (150 g)
- Water (same as above)
- Salt (same as above)
yeast mixture (only if using instant yeast method)
Instructions
the night before, or at least 12 hours prior to mixing ingredients for the dough, situate your starter or preferment.
sourdough starter method
feed your starter as usual and allow it to ripen and become fully active
yeast method
combine the preferment ingredients and allow them to sit out at room temperature overnight. the yeast will develop the majority of its flavor in the preferment, yielding something similar to naturally leavened sourdough.
when it comes time to begin the autolyse, first combine your mixture of flours with the water. mix with a soaking wet hand until a shaggy/rough dough comes together, then sprinkle with the salt. allow it to sit and hydrate, untouched, for around 20 minutes. in the meantime, prepare your yeast mixture and allow it to sit out for the remainder of the autolyse time.
this step saves a lot of labor when it comes to gluten development – which is one of the only drawbacks to the protein bagels recipe. you end up getting a full blown workout when it comes to kneading the dough, especially since it has such a high gluten content–this thing can get TOUGH.
after 20 minutes, combine the yeast mixture with the autolyse. mix by hand until fully incorporated – this will take some horsepower, but i believe in you. when the two mixtures are entirely homogenous, form the dough into a ball and let it rise, covered in the bowl, for 30 minutes.
after the first rise, perform a series of stretches and folds on the dough to develop a strong gluten structure. rise for 30 more minutes, then repeat the process of stretching and folding.
now we are ready for the pre-shaping step. flip out the dough onto a well floured surface and begin tightening the exterior gluten network. essentially, you are tucking the outside of the dough under itself to ensure a proper shape.
rest the dough on your countertop, covered, for 15 minutes. then, flour the top of the dough and flip it over. to shape, flatten it out, fold in all 4 sides, and then roll it into a burrito. seal the ends shut and lay it into a floured proofing basket, seam side up.
now, place the dough in your fridge, covered, and allow it to cold ferment for at least 4 hours, but preferably anywhere from 12-24 for maximum flavor development.
when you are ready, set the dough out to proof at room temperature. in the meantime, preheat your oven, as well your bread-baking vessel of choice*, to 500°F (or maximum heat).
*i used a cast iron dutch oven to bake this loaf, which has the ability to trap in steam while baking, yielding a much better rise in the final loaf. if you don’t have a dutch oven, i recommend spraying water into the oven as the bread bakes every few minutes to try and generate a similar effect.
when the dough is proofed, gently flip it out onto a parchment sheet and score with a razor blade or bread lame. place it into your baking vessel, cover, and bake on the center rack for 20 minutes.
then, remove the lid and lower the heat to 480°F. bake for at least another 10 minutes, or as dark as you prefer your crust (i usually bake it a bit dark).
when finished, allow your loaf to cool COMPLETELY before slicing in. i know it’s tempting, the thought of warm fresh bread out of the oven, but i promise you’ll regret it – slicing the bread before it’s completely cooled can ruin the crumb structure that you worked so hard to achieve! to be safe, i allowed my loaf to cool, covered with a towel, overnight – but anywhere around 1 hour is fine.


